This post may contain affiliate links. I will be compensated if you make a purchase after clicking on the links but at no additional cost to you. Thank you for continuing to support JandLOnline!
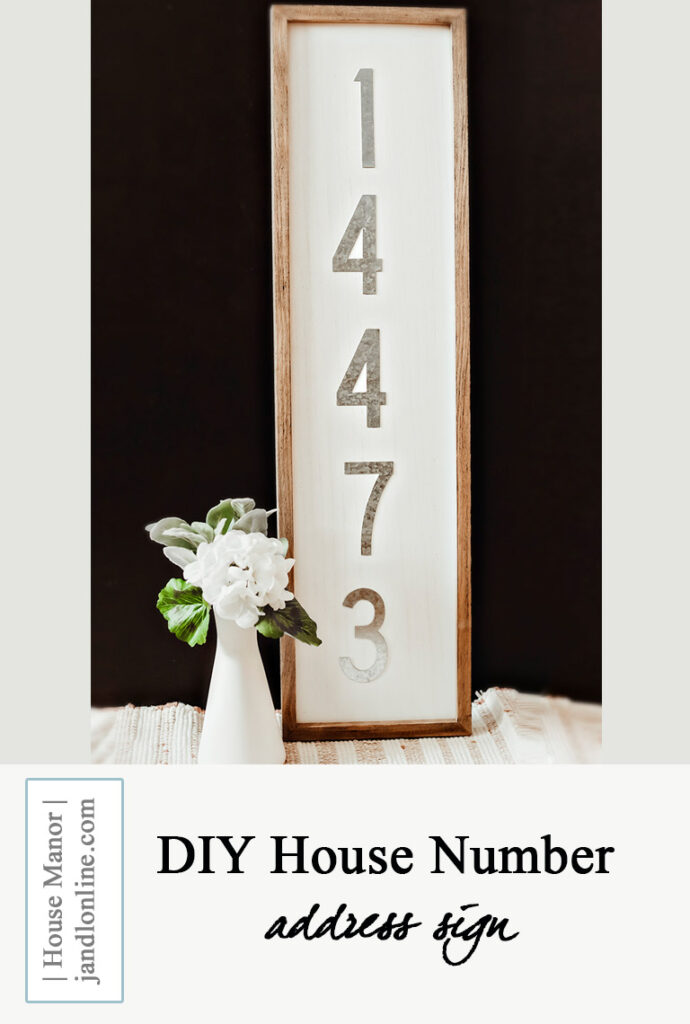
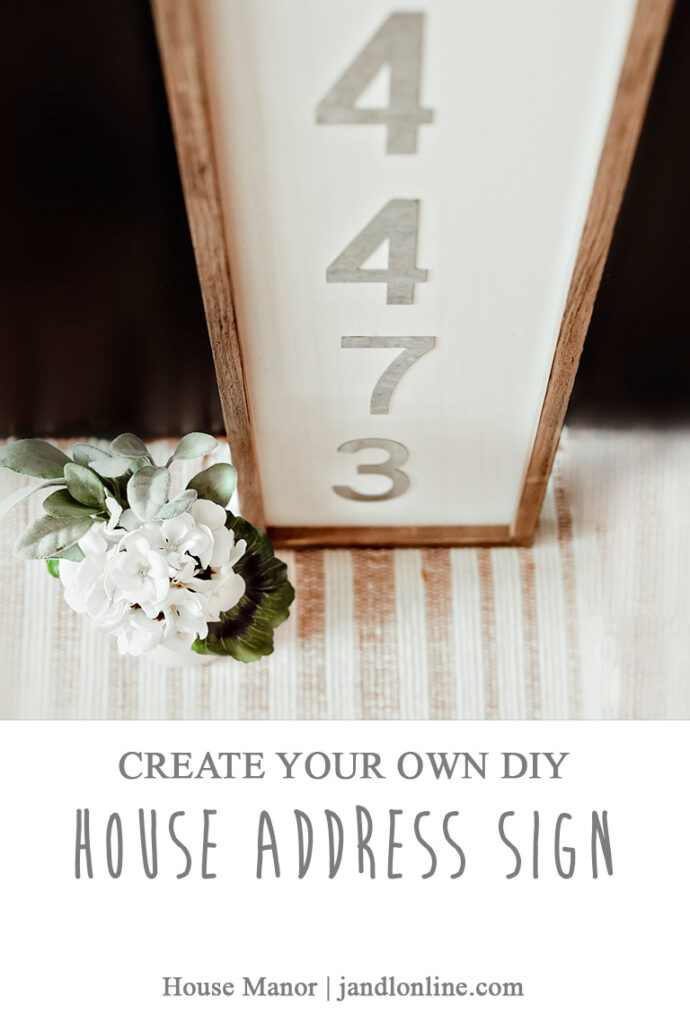
Learn how to make your own creative house number address sign in a matter of minutes! With just a few supplies, your porch will be graced with a beautiful new address display that you’ll have completed in less than 20 minutes! Read along for details…
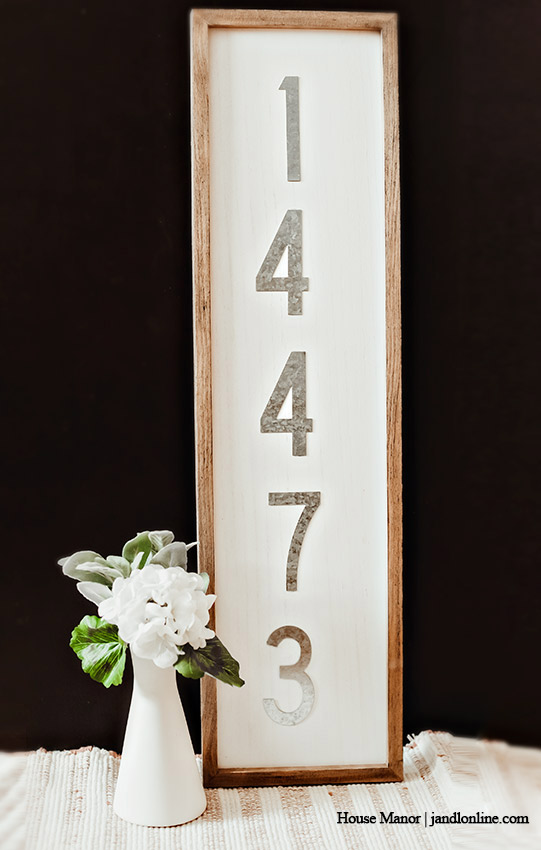
A simple but stately address sign was something that has been on my DIY list for the new house since we signed papers! I hadn’t planned on creating it until we were much closer to moving in but a trip to Hobby Lobby for some craft supply refills (for all these “I’m bored” moments) had me wanting to get on it.
SUPPLIES TO CREATE YOUR ADDRESS SIGN:
- Whitewash Wood Wall Decor Plank (or this Shiplap option)
- Galvanized Metal Numbers (Or these)
- E6000 Glue
- Pencil
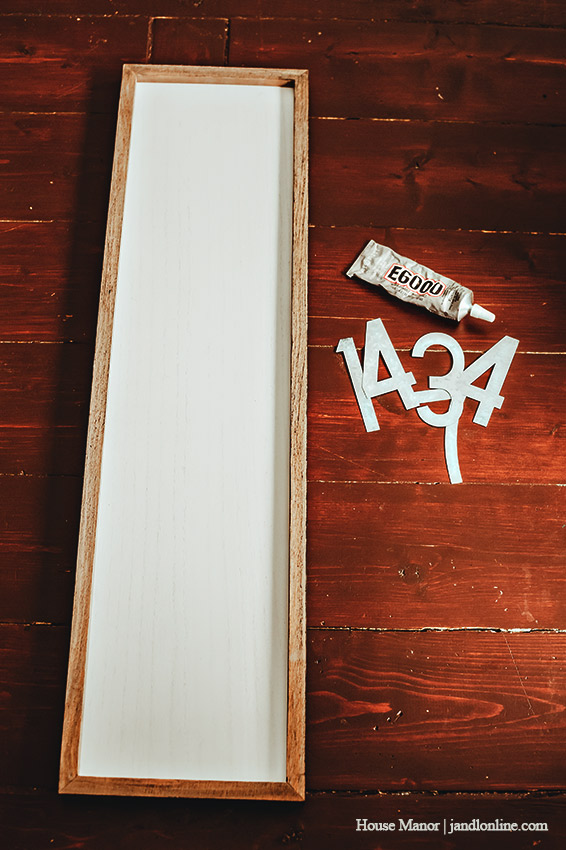
INSTRUCTIONS:
- First, lay your numbers on the board in the correct order to decide on spacing
- Mark above and below each number lightly with a pencil
- Squeeze enough E6000 glue onto the back of each number and stick them in place onto your board
- Allow to dry
- (Optional) Brush with a sealant to protect your sign from the elements and you’re done!